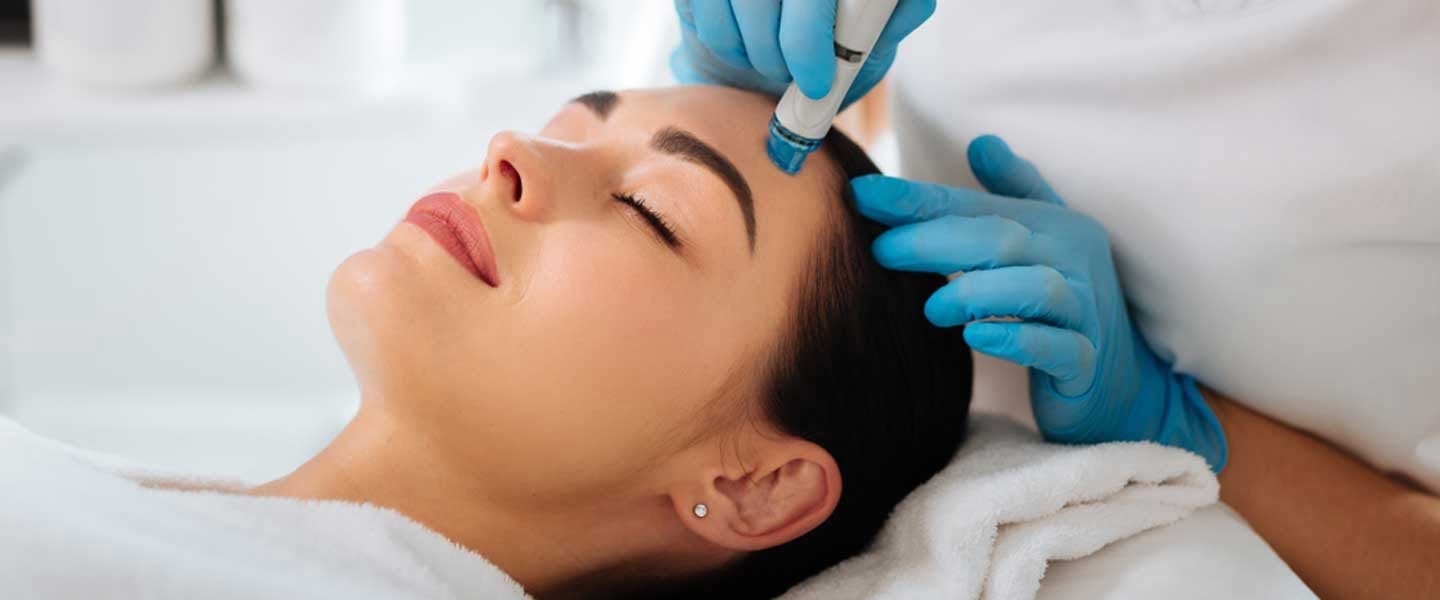
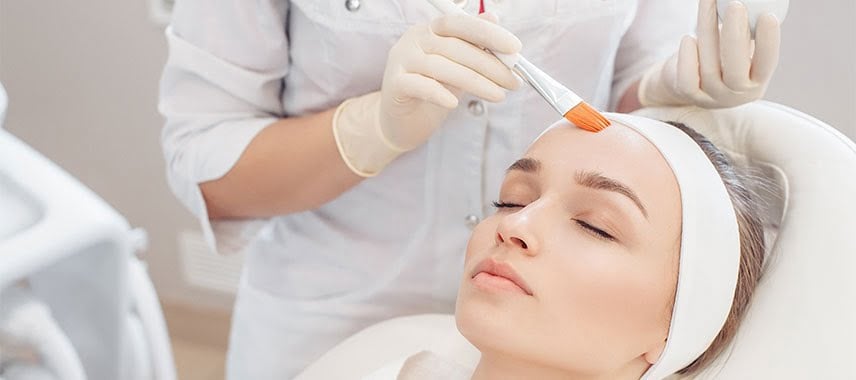
While nothing can beat a luxurious, dreamy-smelling deep sense of purity, if you really want to reap the benefits of a great home facial, you need to know the moves. Do you know the crazy hand movements and massage techniques that facialists do? Yes, they are invaluable if you want to see significant anti-aging results over time. According to experts, there are the most beautiful facial massage techniques for every problem area. And the neat news is that you can practice the techniques on your own at home. The more often you do this, the more impressive the results will be.

For the neck
As we age, the appearance of the skin on our necks can change drastically. Compared to other parts of the body, it is very thin, delicate and produces less oil. “As we age, the skin on our necks becomes thinner, there is a huge loss of calcium in our skin, and there is a noticeable lack of muscle.” Because of the sensitive nature of the skin in its length and being more prone to premature aging, it is valuable to always do your facial skin care by using a massage technique up to the neck area.
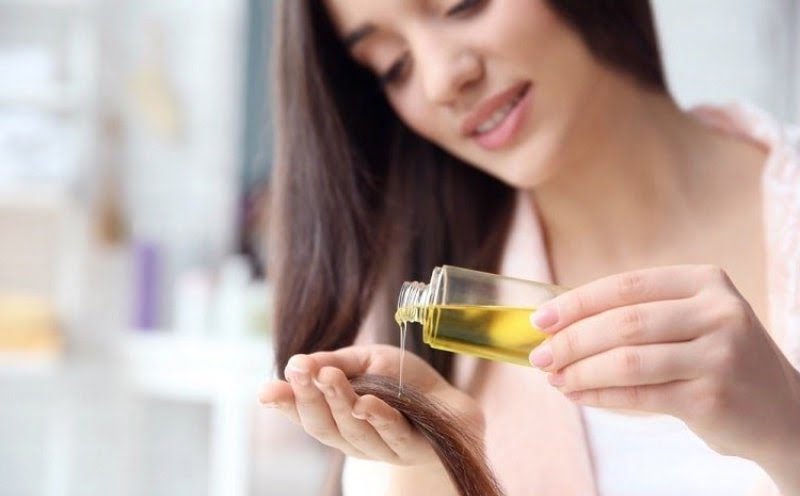
Technique: Take your favorite facial oil, slide your hands real down the side of the face and apply pressure from the base of the neck to the chin and chin in upper-truth, sweeping motions, pressing against gravity. Using sweeping motions for application helps lift the area and prevent creping and sagging.
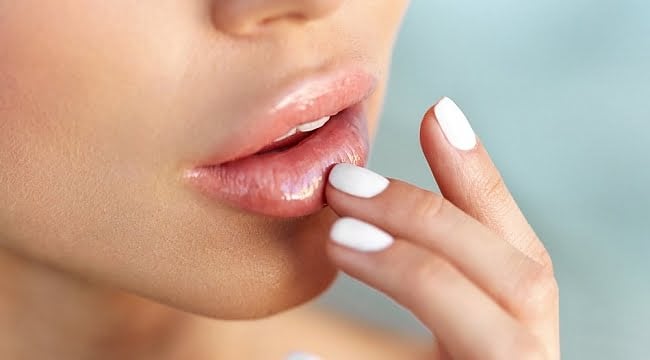
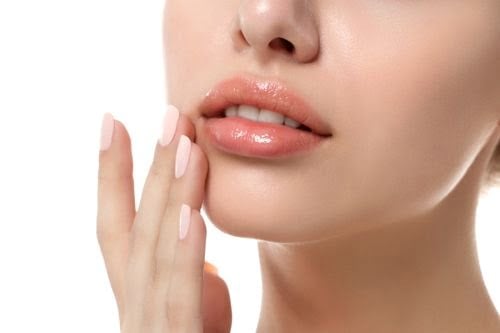
For the chin
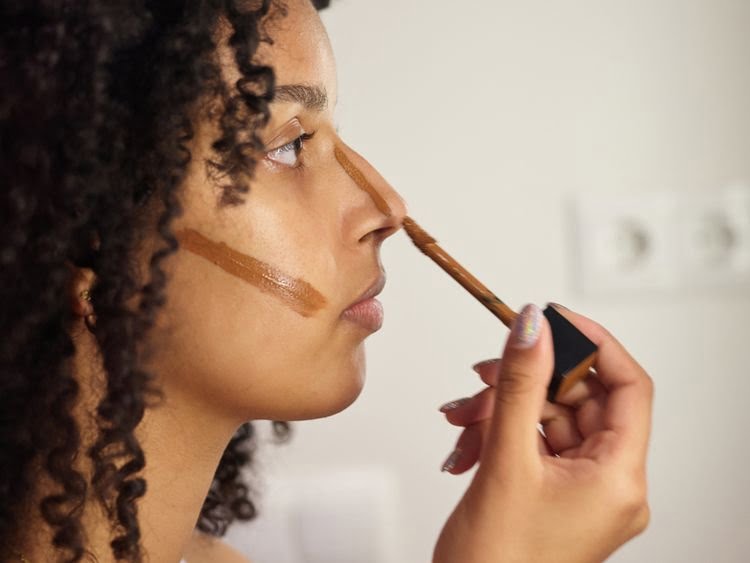
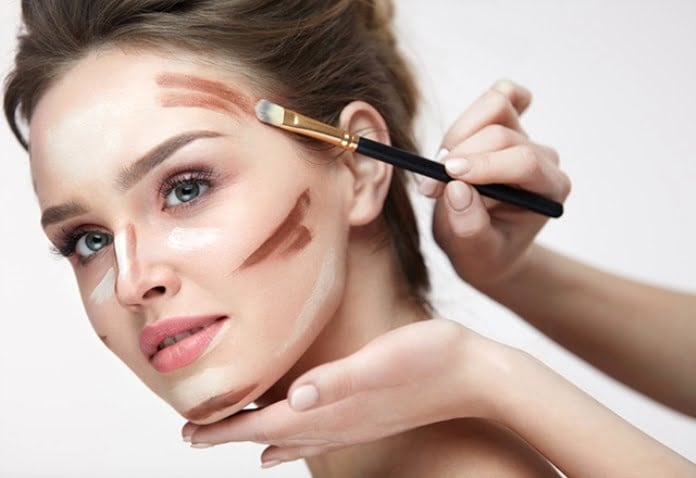
The chin area is often prone to swelling and sagging, especially as we age. She recommends using contouring massage techniques to help create the illusion of an upturned, more sculpted chin without undergoing a random medical operation.
Technique: Make a small ‘V’ shape using your index finger and thumb. Then, using medium to firm pressure, slowly move the ‘V’ from chin to ear by pressing across the chin. Doing this with firmness, the lifting action is thought to help shape the chin.
For the eyes
We should be more sensitive when it comes to massaging around the eyes, rather than other parts of the face. The skin around the eyes is extremely thin and very sensitive. It may also be one of the first places where signs of premature aging are seen. If not properly cared for, it can become dry, swollen and clogged. The fact that the skin around the area is constantly being processed makes the situation worse. Therefore, it may be necessary to treat the region very differently. It reveals that you can actually lift and rejuvenate the eyes without having to manipulate the sensitive skin area. I highly recommend massaging it on the forehead and brow bone to gain a brighter, brighter look by working the muscles around the eyes.
Technique: Using the first knuckle of your fingers, gently apply pressure to the brow bone and slowly lift the forehead up. Repeat three times: first from the middle of the forehead, then from the brow arch, and finally from the end of the eyebrow. Repeat this process morning and evening.

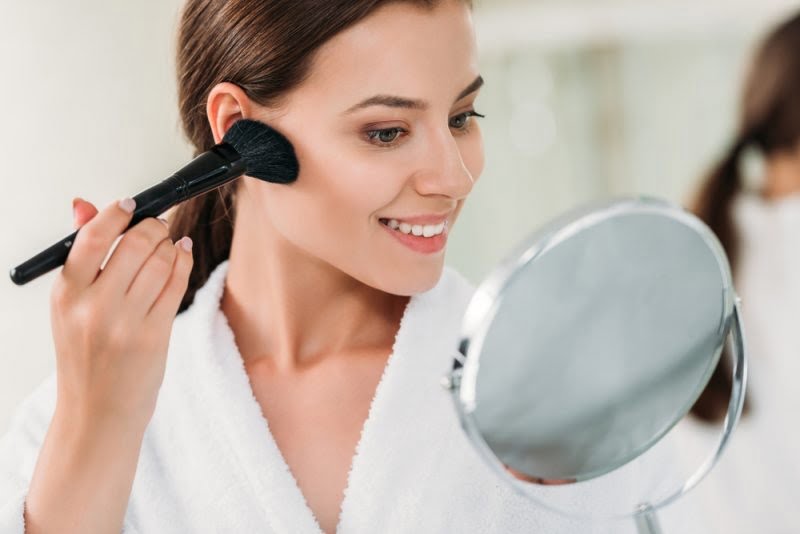
For Cheeks
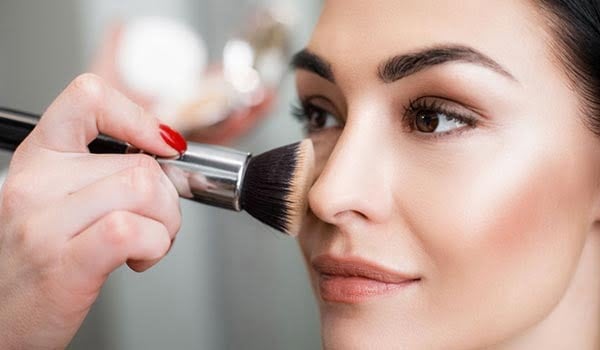
Firm massage techniques around the cheek area Applying light pressure to help stimulate circulation and defensive missions feels great, but for upturned and prominent cheeks, you can see real results. you need to do a heavy facial workout.
Technique: Put your right hand on the right side of your face. Use your hand with gentle pressure to pull back the skin of the cheek. Now exhale forcefully to the left for ten repetitions. Try to do as much as you can against the tension created by your hand. Repeat the same process on the left side.